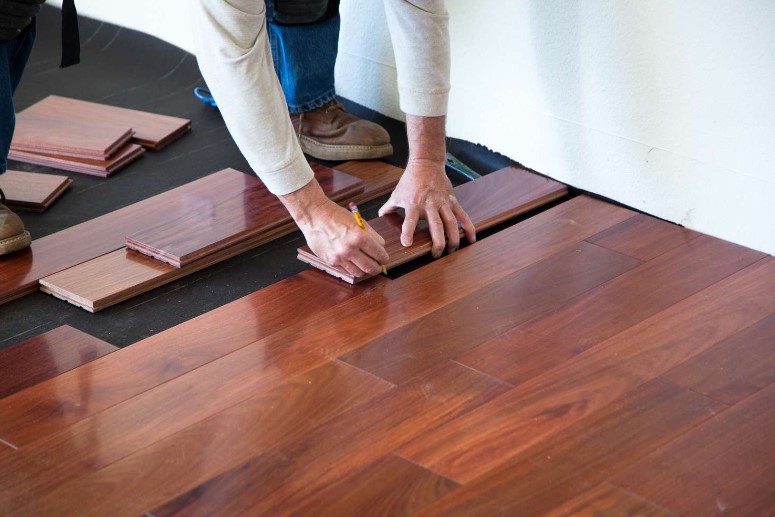
Installing new flooring is an exciting project that can completely transform the look and feel of your home. However, without the proper knowledge and guidance, it can quickly become a frustrating and time-consuming process. From selecting the right type of flooring to preparing the subfloor and finishing techniques, there are many factors to consider to ensure a flawless finish.
In this comprehensive guide, we will take you through everything you need to know about flooring installation. Whether you are a seasoned DIYer or a first-time installer, this article will provide you with all the tips and tricks to achieve a perfect finish.
Types of Flooring
Before we dive into the installation process, let’s take a look at the different types of flooring available:
- Hardwood flooring: One of the most popular flooring options, hardwood flooring is durable, easy to maintain, and comes in a wide range of styles and finishes.
- Laminate flooring: A cost-effective alternative to hardwood, laminate flooring is easy to install, scratch-resistant, and available in a variety of colors and patterns.
- Vinyl flooring: Perfect for high-traffic areas, vinyl flooring is durable, moisture-resistant, and can mimic the look of hardwood or tile.
- Carpet flooring: A cozy and comfortable option, carpet flooring is available in a variety of textures and colors, making it a popular choice for bedrooms and living rooms.
Preparation
Before you begin the installation process, it’s important to properly prepare your subfloor to ensure a stable and level surface. Here are the steps to follow:
- Remove the old flooring: If you are replacing old flooring, you will need to remove it before installing the new flooring. This may involve using a pry bar, scraper, or other tools depending on the type of flooring.
- Inspect the subfloor: Once the old flooring has been removed, inspect the subfloor for any damage or unevenness. If necessary, repair any damaged areas and level any uneven spots with a self-leveling compound.
- Acclimate the new flooring: Before installation, allow the new flooring to acclimate to the room’s temperature and humidity for at least 48 hours.
- Measure and plan: Measure the room and plan the layout of the new flooring to minimize waste and ensure a balanced appearance.
Installation
Once you have properly prepared your subfloor, it’s time to start the installation process. Here are the steps to follow:
- Start with the first row: Begin installation by laying the first row of flooring along the longest straight wall. Use spacers to maintain a uniform gap between the flooring and the wall.
- Cut and fit the flooring: Use a saw to cut the flooring to the appropriate length, leaving a ¼ inch gap between the flooring and the wall for expansion.
- Install subsequent rows: Install subsequent rows of flooring, making sure to stagger the end joints for a natural look. Use a tapping block and mallet to ensure a tight fit between the planks.
- Install the final row: The final row may need to be cut to fit the remaining space. Use a pry bar to snugly fit the final row into place.
- Install transitions and moldings: Install transitions and moldings around the edges of the room to create a finished look and cover any gaps.
Finishing Techniques
Once the installation is complete, it’s time to add the finishing touches to ensure a flawless finish. Here are the steps to follow:
- Clean and remove debris: Clean the flooring with a damp cloth to remove any debris or residue from the installation process.
- Apply a sealant: Depending on the type of flooring, you may need to apply a sealant to protect against moisture and wear. Follow the manufacturer’s instructions for the appropriate sealant and application method.
- Install baseboards and shoe molding: Install baseboards and shoe molding around the edges of the room to cover any gaps and create a finished look.
- Add rugs and furniture: Add rugs and furniture to the room, taking care to avoid dragging or scratching the new flooring.
FAQs
- Can I install new flooring over existing flooring?
It is possible to install new flooring over existing flooring, but it is important to properly prepare the subfloor and ensure that the new flooring is compatible with the old flooring.
- Do I need to hire a professional for flooring installation?
While it is possible to install flooring yourself, it can be a time-consuming and challenging process. Hiring a professional can ensure a flawless finish and save you time and frustration.
- How long does flooring installation take?
The length of time it takes to install flooring depends on the type of flooring, the size of the room, and the complexity of the installation. On average, flooring installation can take anywhere from one to five days.
Conclusion
Flooring installation can be a daunting task, but with the proper knowledge and guidance, it can be a rewarding and satisfying project. By following these steps, you can achieve a flawless finish and transform the look and feel of your home. Whether you choose hardwood, laminate, vinyl, or carpet flooring, proper preparation, installation, and finishing techniques are essential for a successful project.
Partner Site : Auto Sports, Travellers, Best Movies, Auto Services, Machine Industry, Textile Product, Technology Update, Health Institutes, Food Ice, Healthy Pet, Wedding Fashion